【Kotlin×Android】ファイルに情報を保存する方法
アプリの情報を保存する方法はいくつかありますが、
ファイルは一番シンプルな方法です。
今回はメモ機能を例にファイルに情報を保存する方法を解説します。
画面レイアウト
今回はこんなレイアウトにしましょう。
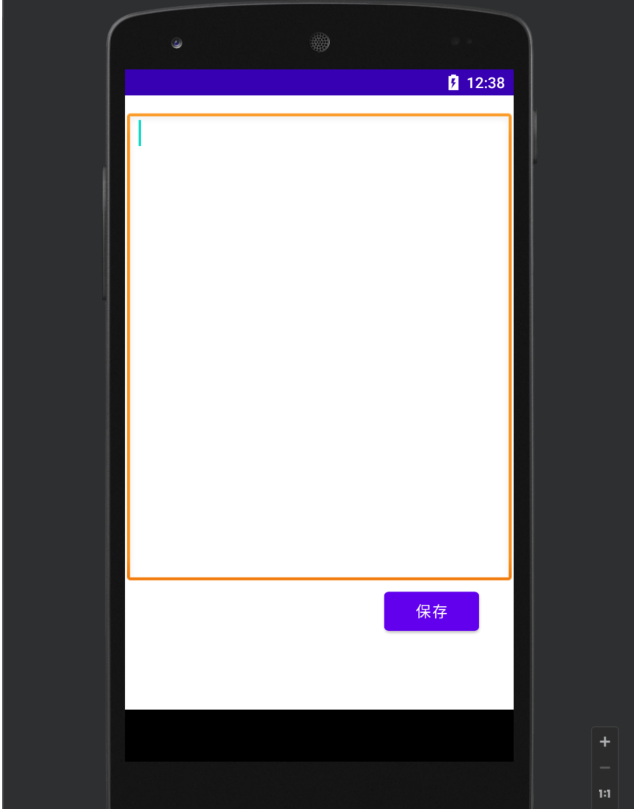
xmlファイル
activity_main.xmlの内容です。
<?xml version="1.0" encoding="utf-8"?>
<androidx.constraintlayout.widget.ConstraintLayout xmlns:android="http://schemas.android.com/apk/res/android"
    xmlns:app="http://schemas.android.com/apk/res-auto"
    xmlns:tools="http://schemas.android.com/tools"
    android:id="@+id/coordinatorLayout"
    android:layout_width="match_parent"
    android:layout_height="match_parent"
    android:background="#FFFFFF"
    tools:context=".MainActivity">

    <EditText
        android:id="@+id/text_body"
        android:layout_width="356dp"
        android:layout_height="437dp"
        android:layout_marginTop="16dp"
        android:background="@android:drawable/edit_text"
        android:ems="10"
        android:gravity="start|top"
        android:inputType="textMultiLine"
        android:outlineProvider="background"
        app:layout_constraintEnd_toEndOf="parent"
        app:layout_constraintHorizontal_bias="0.49"
        app:layout_constraintStart_toStartOf="parent"
        app:layout_constraintTop_toTopOf="parent"
        tools:ignore="SpeakableTextPresentCheck" />

    <Button
        android:id="@+id/button_save"
        android:layout_width="wrap_content"
        android:layout_height="wrap_content"
        android:layout_marginStart="32dp"
        android:layout_marginEnd="32dp"
        android:text="保存"
        app:layout_constraintEnd_toEndOf="parent"
        app:layout_constraintHorizontal_bias="1.0"
        app:layout_constraintStart_toStartOf="parent"
        app:layout_constraintTop_toBottomOf="@+id/text_body" />

</androidx.constraintlayout.widget.ConstraintLayout>
EditTextと保存用のButtonを配置しています。
Kotlin側
package com.example.samplefile

import android.os.Bundle
import androidx.appcompat.app.AppCompatActivity
import android.widget.Button
import android.widget.EditText

class MainActivity : AppCompatActivity() {

    override fun onCreate(savedInstanceState: Bundle?) {
        super.onCreate(savedInstanceState)
        setContentView(R.layout.activity_main)

        val textBody = findViewById<EditText>(R.id.text_body)
        val buttonSave = findViewById<Button>(R.id.button_save)

        buttonSave.setOnClickListener{
            openFileOutput("memo", MODE_PRIVATE).bufferedWriter().use{
                it.write(textBody.text.toString())
            }
        }
    }
}
「保存」ボタンが押されたらEditTextに入力された内容をファイルに保存します。
そのためにButtonにイベントを設定します。
openFileOutput("memo", MODE_PRIVATE).bufferedWriter().use{
   it.write(textBody.text.toString())
}
この部分がファイルを保存する処理です。
やっていることを一つずつ解説します。
- openFileOutput関数でファイルを開く
- 厳密にいえばファイルへの出力ストリームのFIleOutputStreamオブジェクトを返している
- bufferedWriter関数で文字列操作のためのBufferedWriterオブジェクトを取得
- FileOutputStreamでは文字列を扱うのに向いていないため
- BufferedWriterオブジェクトのuseメソッドを呼び出す
- これはBufferedWriterオブジェクトを処理の終了時に破棄するために使用します
- ファイルに書き込む
- itとはBufferedWriterオブジェクトのことです。
ちなみにAndroidはセキュリティの都合からアプリがアクセスできるフォルダに制限をかけています。
アプリはそれぞれ割り当てられたフォルダにしかアクセスができません。
openFileOutput関数はそのアプリに割り当てられたフォルダにアクセスしてファイルを開いてくれます。
エミュレーターで実行している場合、
Android Studioの[View] -> [Tool Window] -> [Device File Explorer]から確認できます。
ファイルは/data/data/「パッケージ名」/filesに保存されています。